Giant Wooden Peg Board DIY
Aug. 23, 2021 | Written by: MANDIGiant Wooden Peg Board DIY!
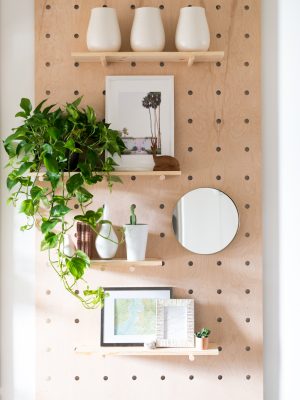
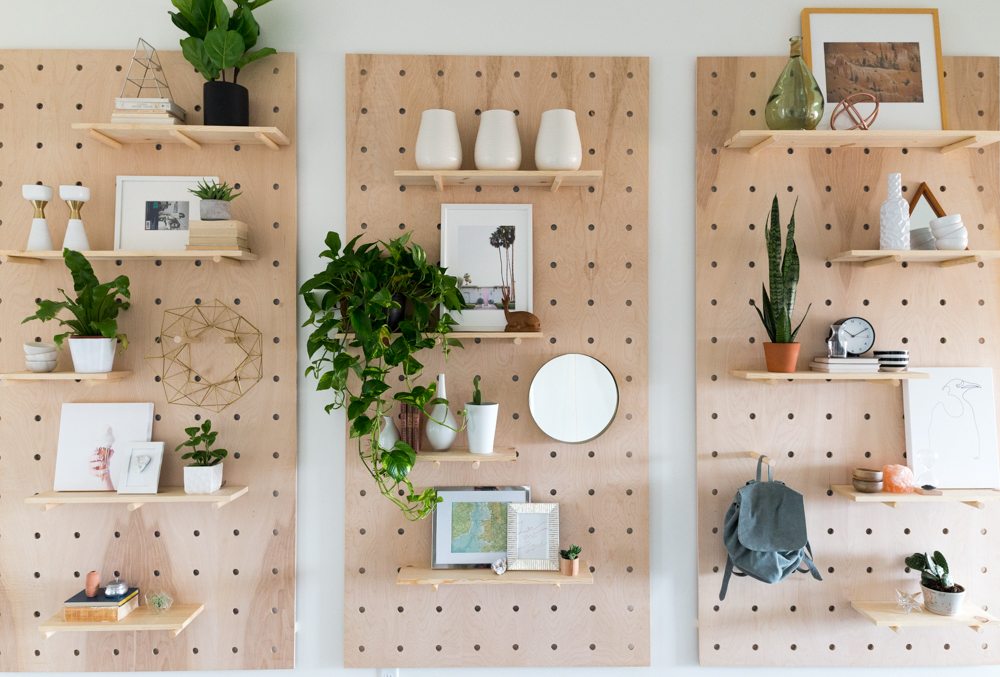
This pegboard wall treatment is perfect for any house! Because the wooden pegs are interchangeable you can mix, match, and customize to your hearts content, its the decor equivalent of the 80’s staple Units! This oversized pegboard can be used as shelves, to hang art, and as a place to store you backpack and purses. This pegboard is one of the projects I created in Aspyn Ovard’s house, you can see the entire makeover here!
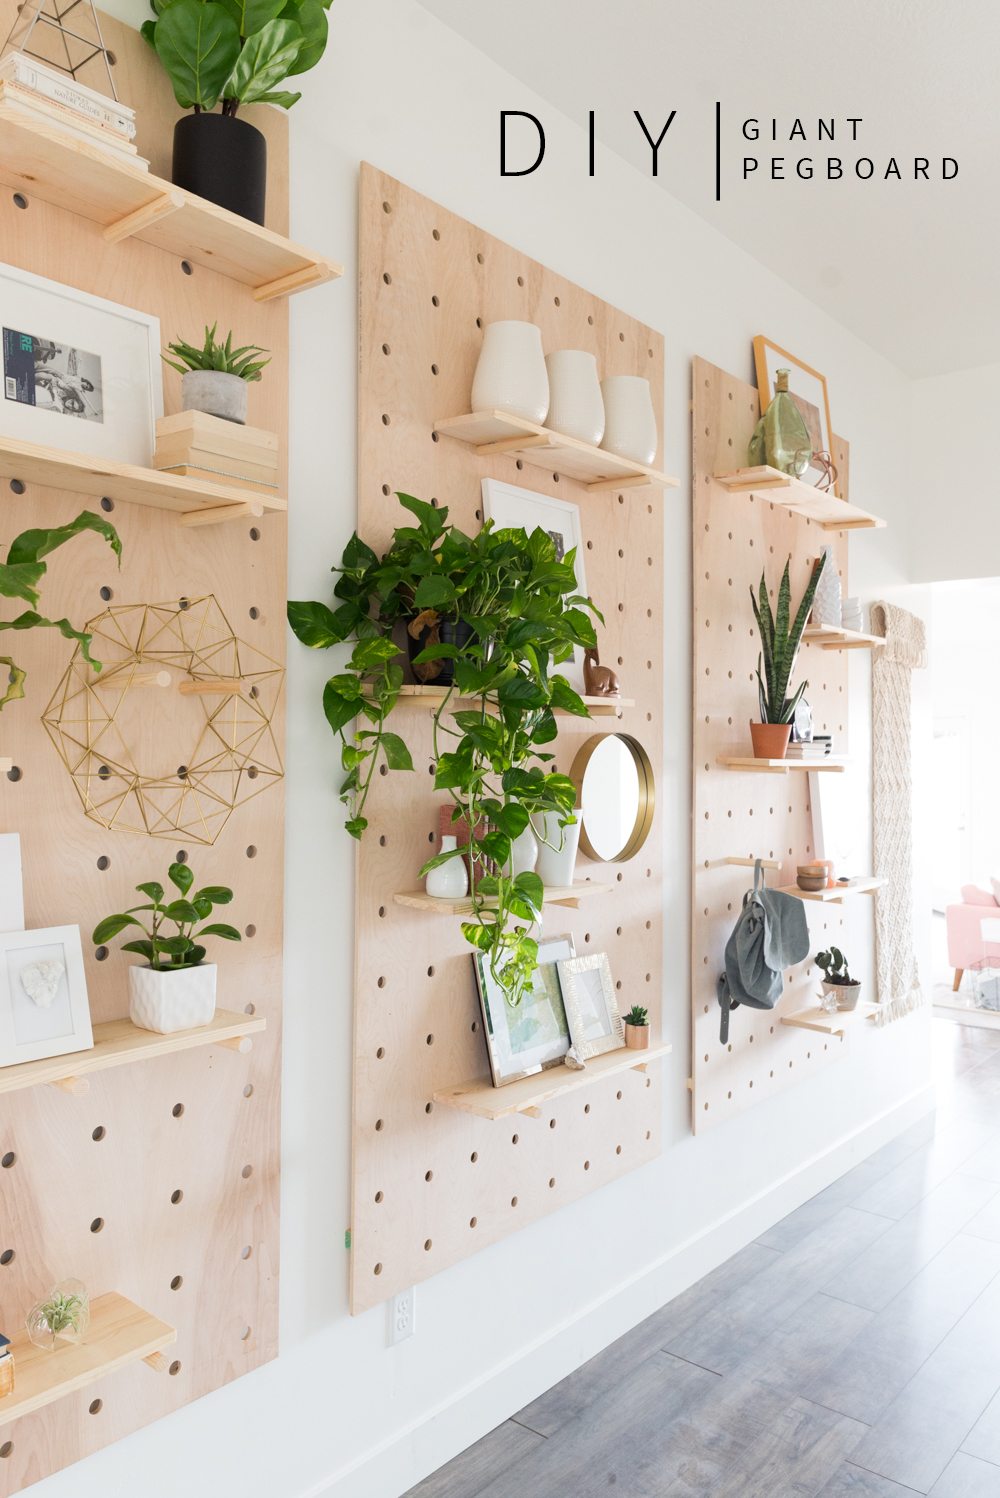
The entryway wall in Apsyn’s was HUGE. Its tall and wide and dwarfed anything she tried to put there. Do you ever feel like that in your house? Nothing like a 4×4 piece of art looking like a postage stamp to deflate your decor dreams. If you’ve got a huge space to fill but are wondering exactly how to pull it off, this pegboard project is for you!
How To Build A Wooden Peg Board Wall
To build this project you’ll need:
(1) 4’x8’x1/2″ sheet of plywood per panel
(1) 4’x8′ sheet of normal peg board (total)
(4) 1″x2″x3.5′ per panel
1″ wooden dowels
Tools You’ll Need:
1″ Forstner Drill Bit
Drill
Nail Gun
Level
Philips Head Screwdriver
Step 1: Deciding On Spacing
Start by figuring out the spacing of your holes, you can do them as close together, or as far apart as you want! I figured that my holes needed to be 6″ apart to get the look I wanted.
Step 2: Centering Your Holes
To center them on the plywood I divided my 6″ length by 2 and started there. This meant that my first and last row of holes are 3″ from the edge.
One thing to be aware of is that the template peg board might measure weird. Notice in the picture below that the hole is marked on the 3rd hole but my tape measure is over hanging 1/2″. That is because for some reason the pegboard isn’t exactly 4′, its closer to 3′ 11″ so I had a 1/2″ allowance that I needed to accommodate. You’ll take this into account when you’re marking your sheets of plywood.
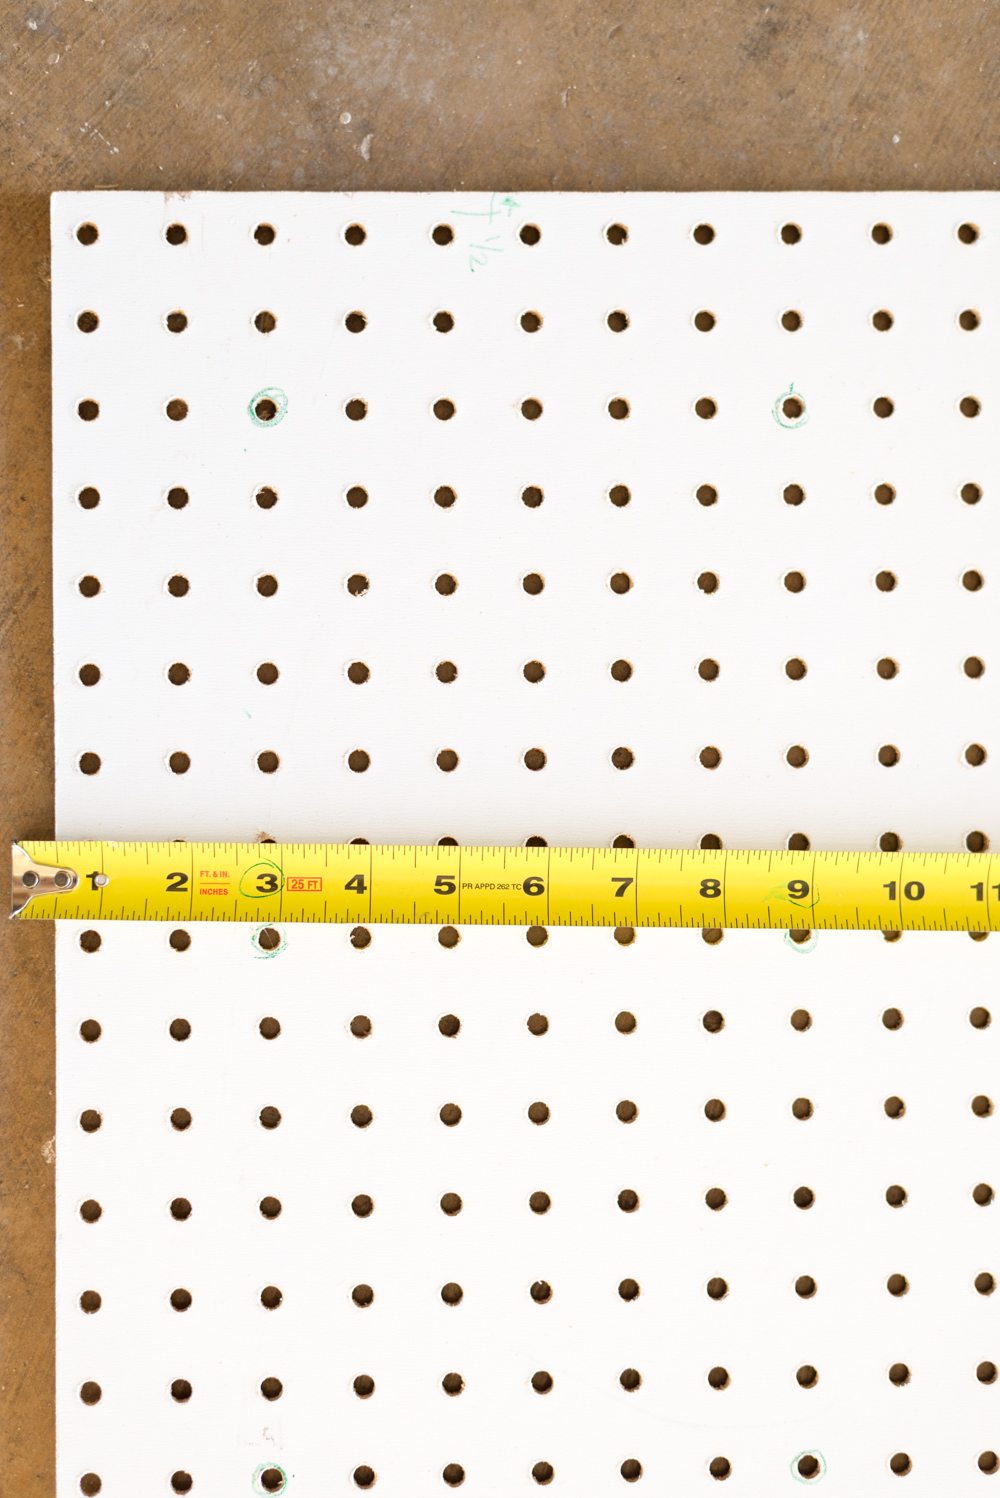
I went through and circle-marked every 6th hole horizontally and vertically with a marker. This gave my my 6″ spacing that I wanted.
Step 3: Stack All Of Your Plywood
There are a few important things to know.
- Stack your wood so that it is all face up. When the drill bit punches through the back it can damage the veneer and its not so cute.
- Put some wood or an extra piece of plywood underneath to raise up your wood so that you don’t have to worry about accidentally drilling into the ground and ruining your bit.
*If you’re making something that needs both sides visible, use a sheet of plywood. It will reduce the punch out significantly.
Step 4: Mark Where You’re Going to Drill
Once our wood was stacked and the hole guide was placed (remember your 1/2″ allowance that we talked about earlier!) Court and I each took a Philips head screwdriver and marked each spot by tapping on the end of the screwdriver with a hammer. Don’t be afraid to give it a good whack! The whole point of this is to mark the plywood so that it’s unmistakeable where your hole needs to be!
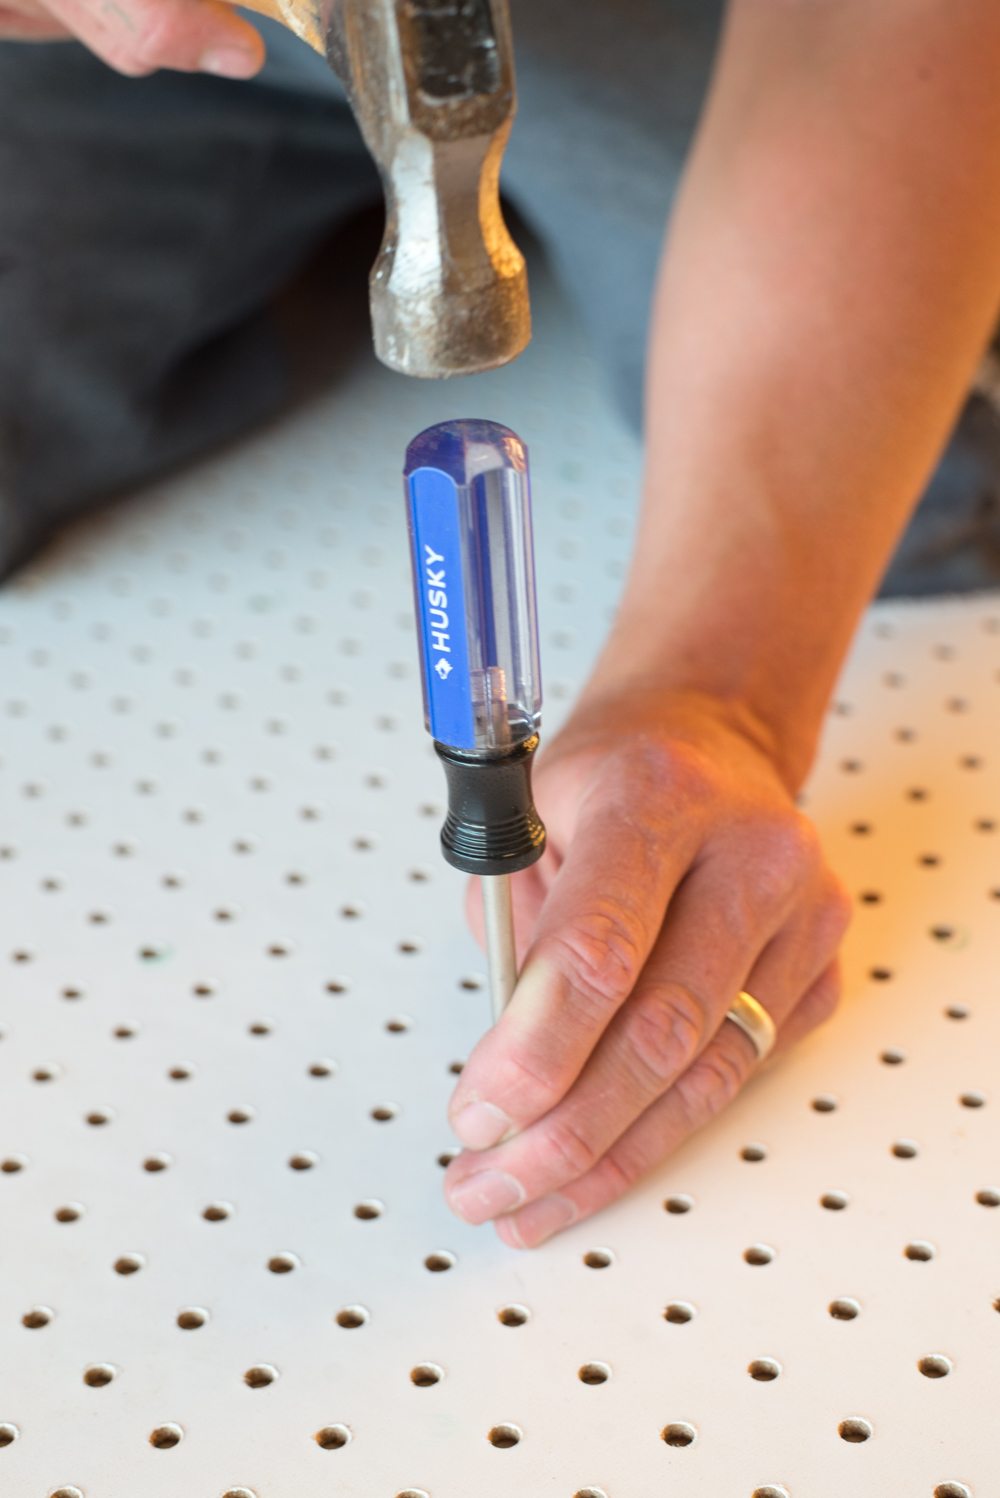
When you take it off it will look like this:
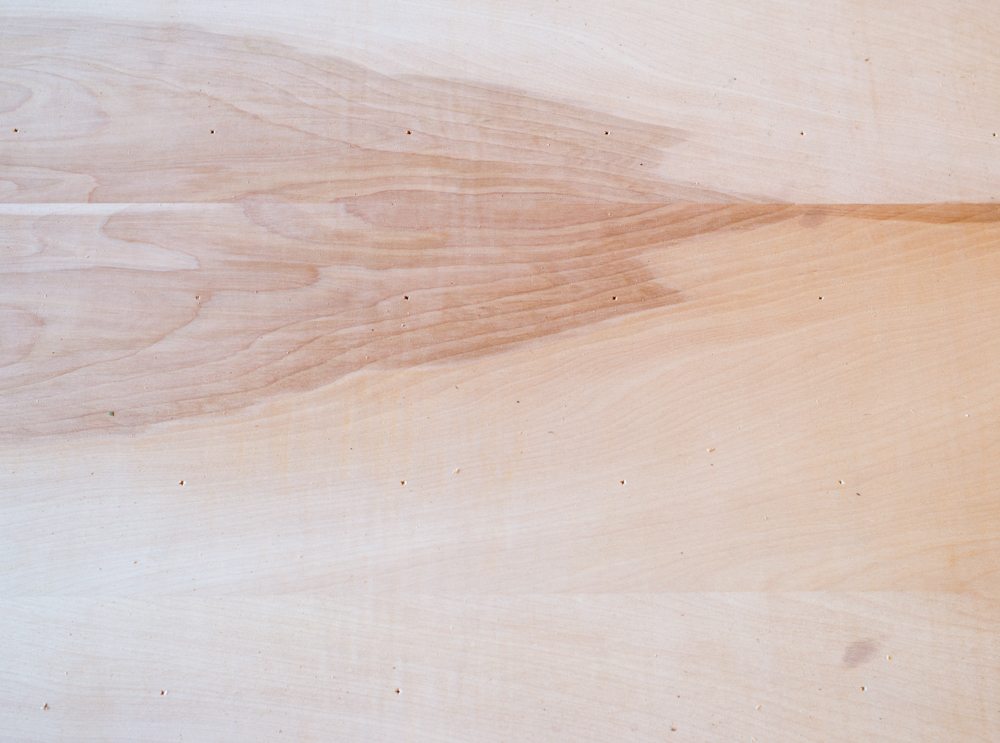
See all the little puncture marks?
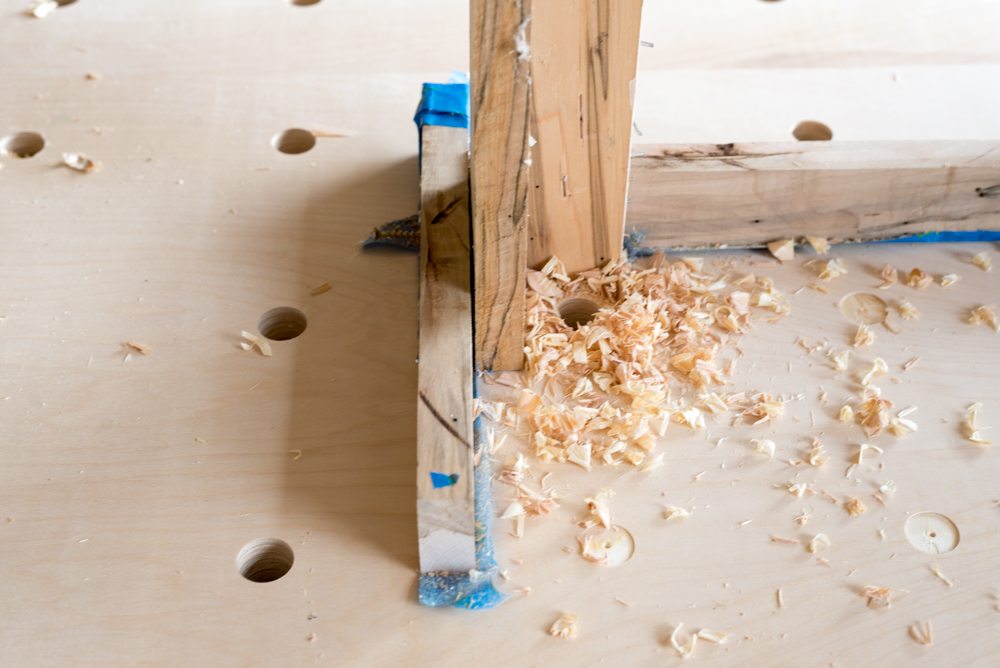
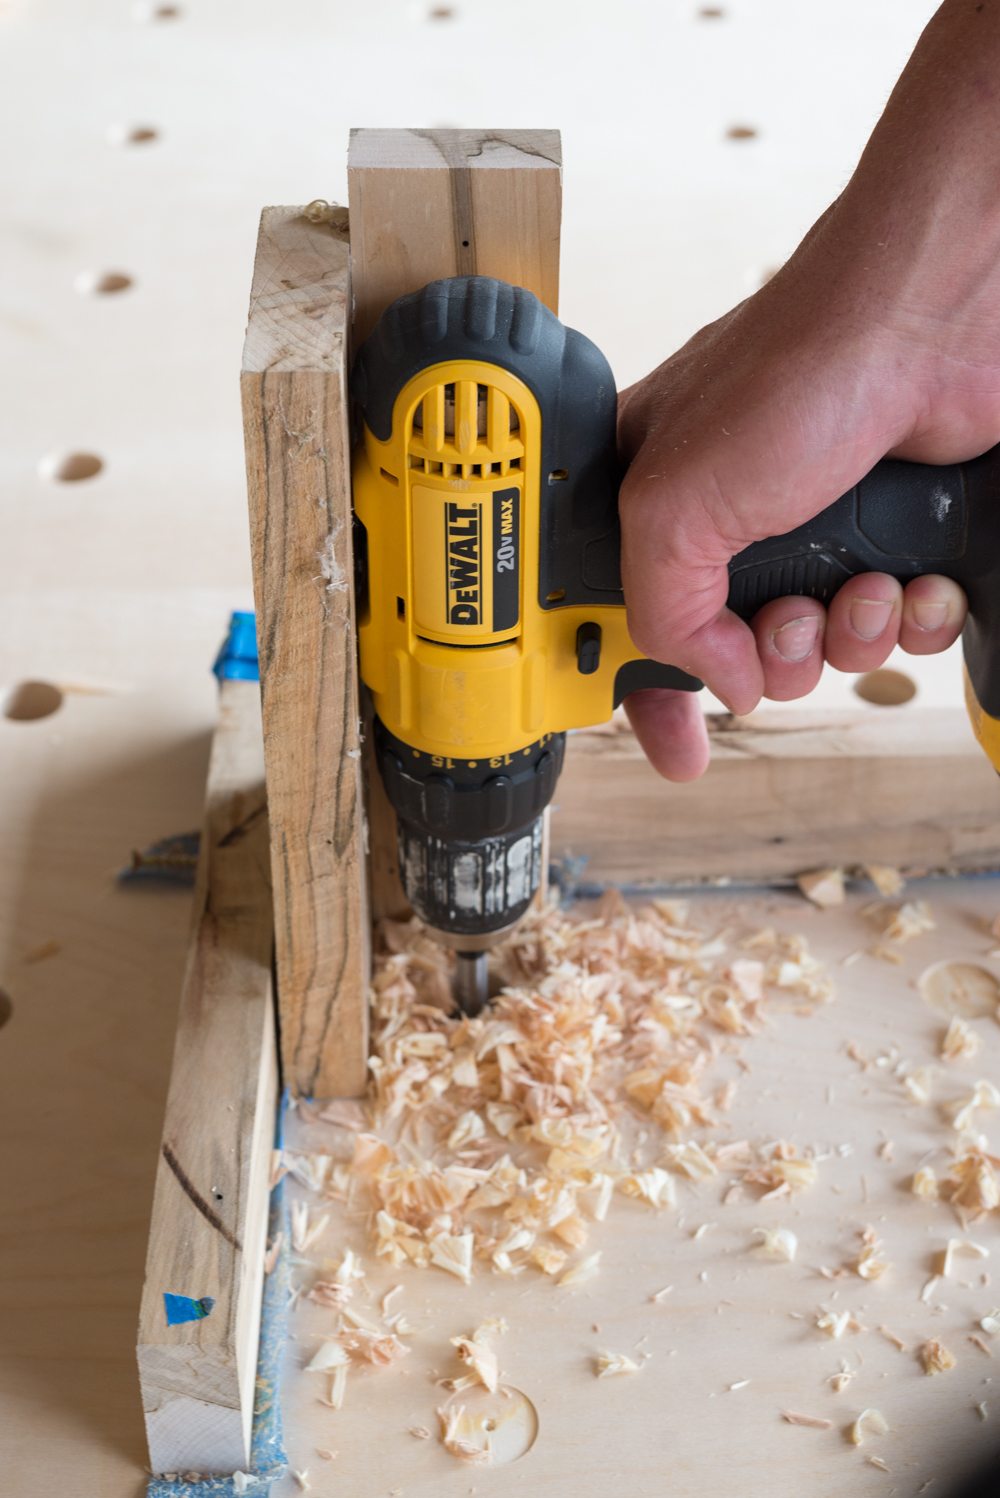
Step 5: Make A Jig
The hardest part of this project is making sure that your drill stays at a 90 degree angle while you are drilling your holes. This tool from Rockler looks FREAKING BRILLIANT. Unfortunately we didn’t have one and had to make a guide ourselves. We used a few different sizes of scrap wood and created a corner pocket that guided the drill straight down.
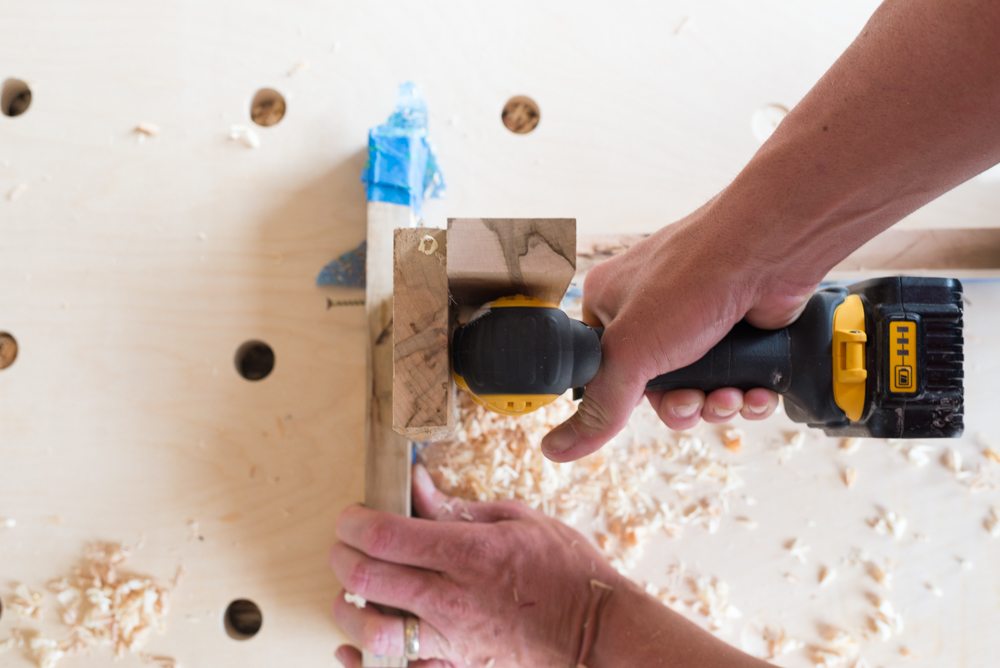
The longer pieces stabilized it so that it couldn’t wiggle side to side, and the vertical pieces were the actual guide. This is an easy jig to make!
Step 6: Drilling The Holes For Your Peg Board
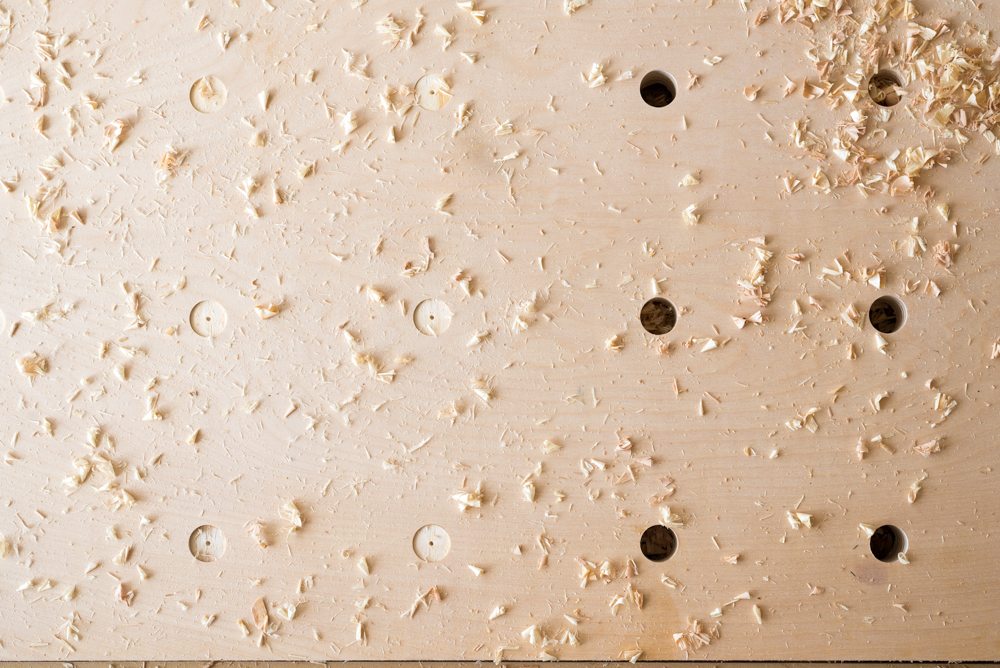
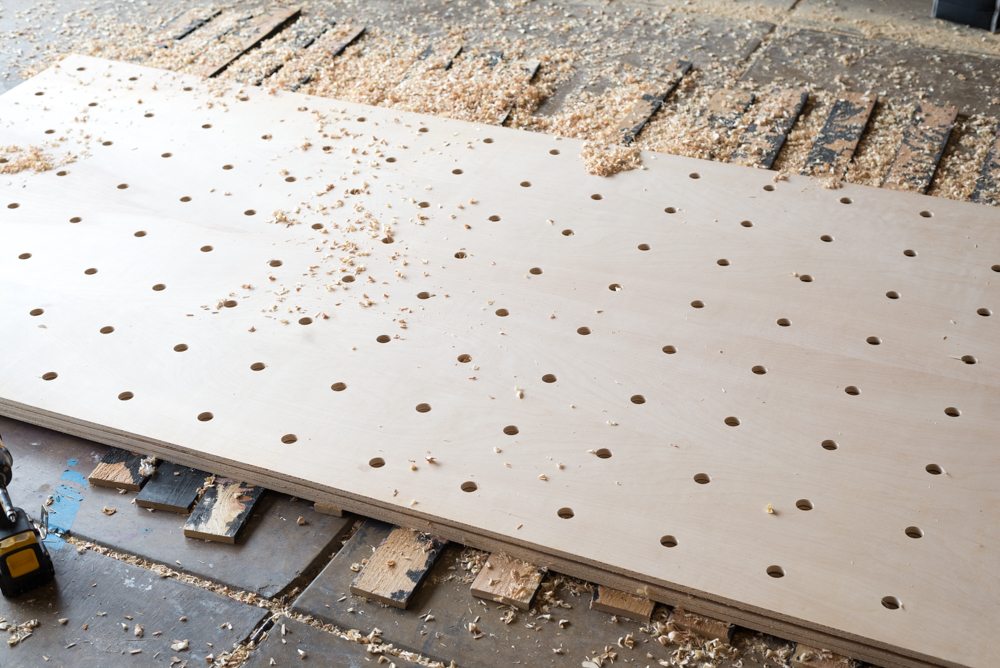
One thing that we learned after damaging the wood a little was that we needed to carefully “peel off” the first layer of veneer before you go full throttle with the drill. The Forstner Drill Bit will do this for you, you just have to very slowly turn it to lift up the top layer. You can see in the pictures below what that looks like. Once we did that we didn’t have any problems with the wood splitting on the front.
Installing Your Wooden Peg Board
Installing your boards onto the wall is really simple but you will need at least 2 people.
You’ll need (4) 1″x2″ pieces of wood cut down to 3.5 feet per panel.
Step 1: Install The Support Boards
Determine the height of your installed peg board. If possible, have one person hold the board in that spot while the other one marks on the wall, where support boards can go without being seen through the holes.
Find where your studs are on the wall and mount the 1×2’s into as many as you can (most of the ones we installed had 3 studs behind them) make sure you’re using a level!
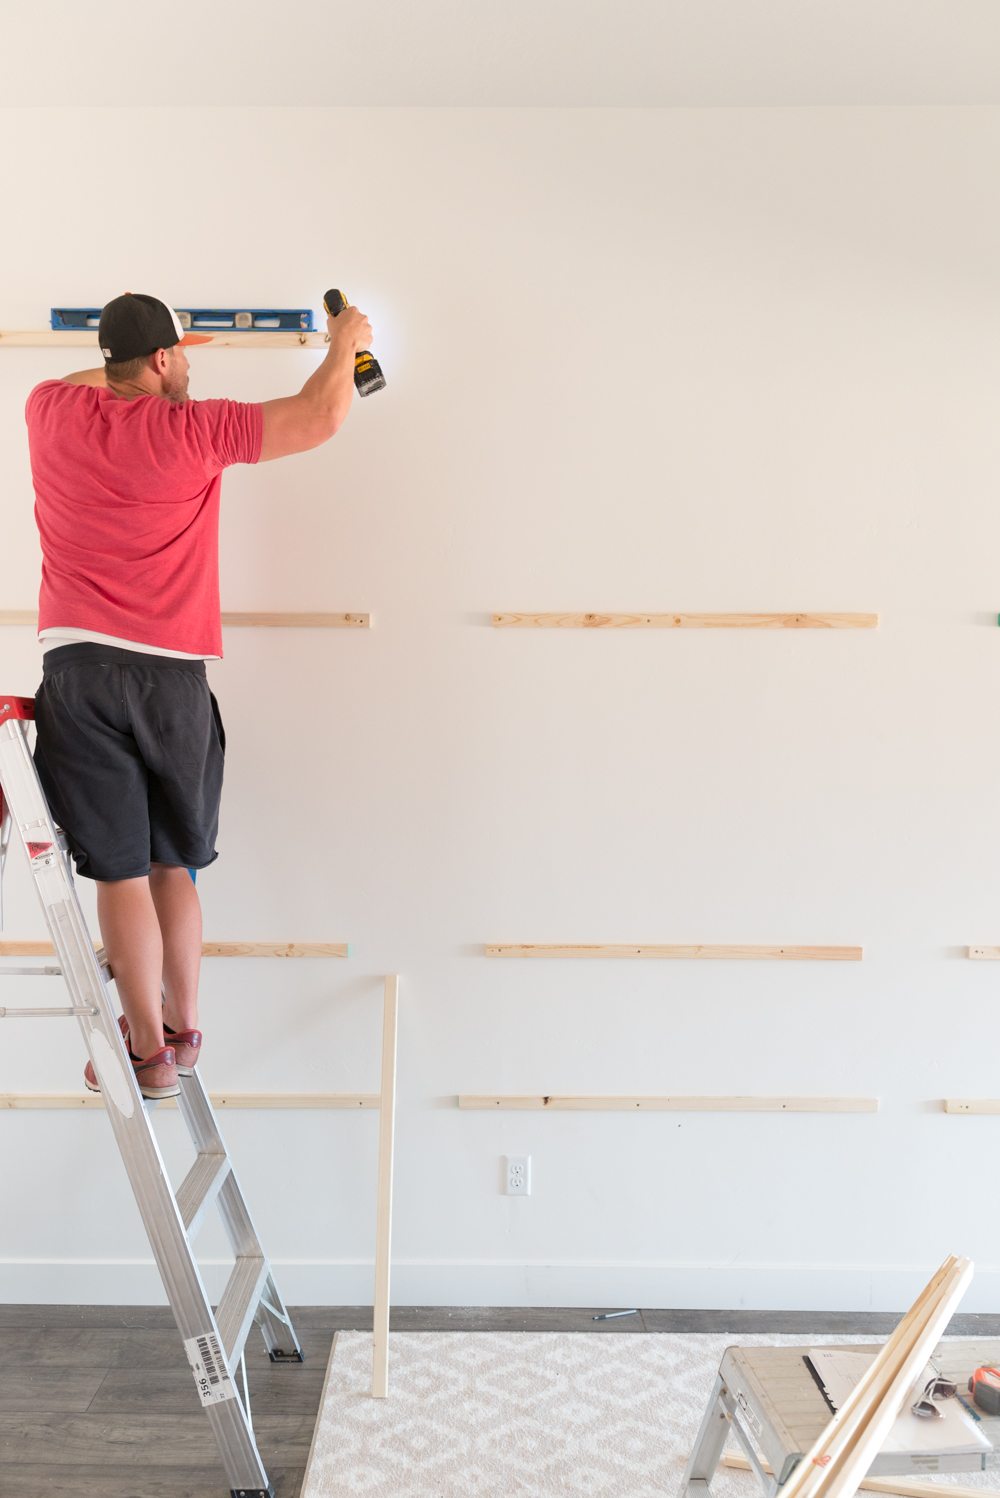
Step 2: Attach the Pegboard
Attach the pegboard using small head cabinet screws or high quality finishing nails. We used 4 nails per 1×2 and they are great because they almost disappear. I used little bit of wood putty to hide them completely. The nails will be strong enough to hold the peg board.
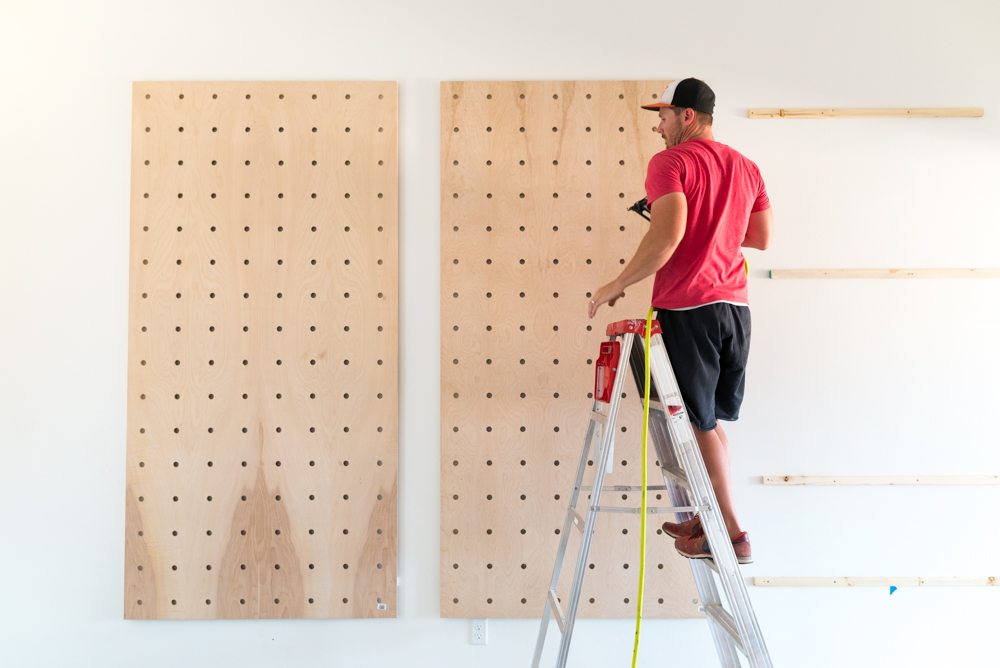
You can frame out the sides of the plywood, or leave them open like I did, whatever suits your style!
Making Pegs for Pegboard
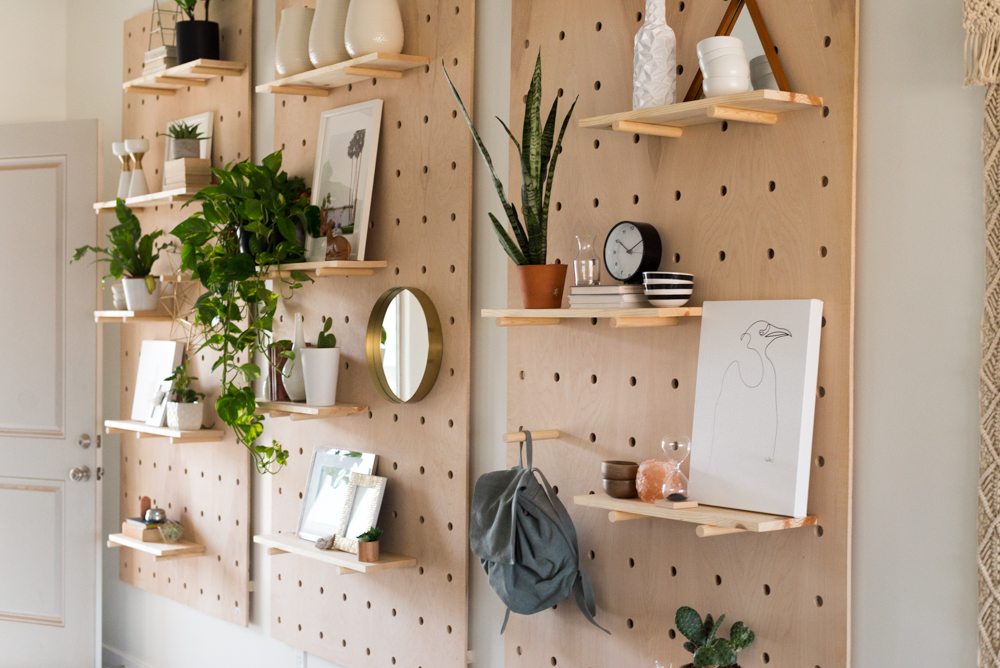
The length of your 1″ dowels depends on the width of your shelves. The shelves we used were 8″ deep so the pegs we made were 11″ long that way they could fit into the hole, against the wall, and be a little longer than the depth of the shelves.
Peg Board Shelves
If you want to use your peg board shelves for home decor, I wouldn’t recommend going shorter than 8″. That makes it a little hard to use standard size decor on them!
I LOVE how these shelves turned out. They are massive and such a statement! Perfect if you’ve got some big walls to fill!
Aspyn’s entryway is so massive its kind of hard to tell how high everything is. For reference, the round mirror on the middle section is eye level for someone that is approx 5’5″.
